All Blog Posts
Select a Category or use the search box below.
- Adoption and Change Management (40)
- Agents (8)
- Anthropic (11)
- Anthropic (7)
- Apple (1)
- Asus (1)
- Automation (11)
- AWS (1)
- Business (134)
- Cisco (34)
- Cisco Webex (2)
- Cloud and Data Center (55)
- CloudPC (9)
- Collaboration and Productivity (300)
- Copilot (115)
- Copilot+ PC (18)
- Cowork (4)
- Creativity (13)
- Customer Experience (19)
- Data and AI (105)
- Data Protection (6)
- Dell (1)
- Devices (33)
- Education (5)
- End User Compute (84)
- Enterprise Infrastructure (20)
- Finance (1)
- Geeky Stuff (16)
- Google (4)
- Google (1)
- HPE (1)
- Intel (2)
- Juniper (1)
- Low Code (2)
- Microsoft (213)
- Microsoft Surface (19)
- Microsoft Teams (7)
- Nvidia (2)
- Observability (2)
- OpenAI (13)
- OpenAI (12)
- Palo Alto (1)
- Qualcomm (4)
- Quantum Computing (1)
- Regulatory Compliance (3)
- Scout (1)
- Security and Compliance (95)
- SharePoint (1)
- Spunk (4)
- Uncategorised (2)
- Vendor (2)
- Windows 10 (49)
- Windows 11 (99)
- WindowsInsider (24)
-
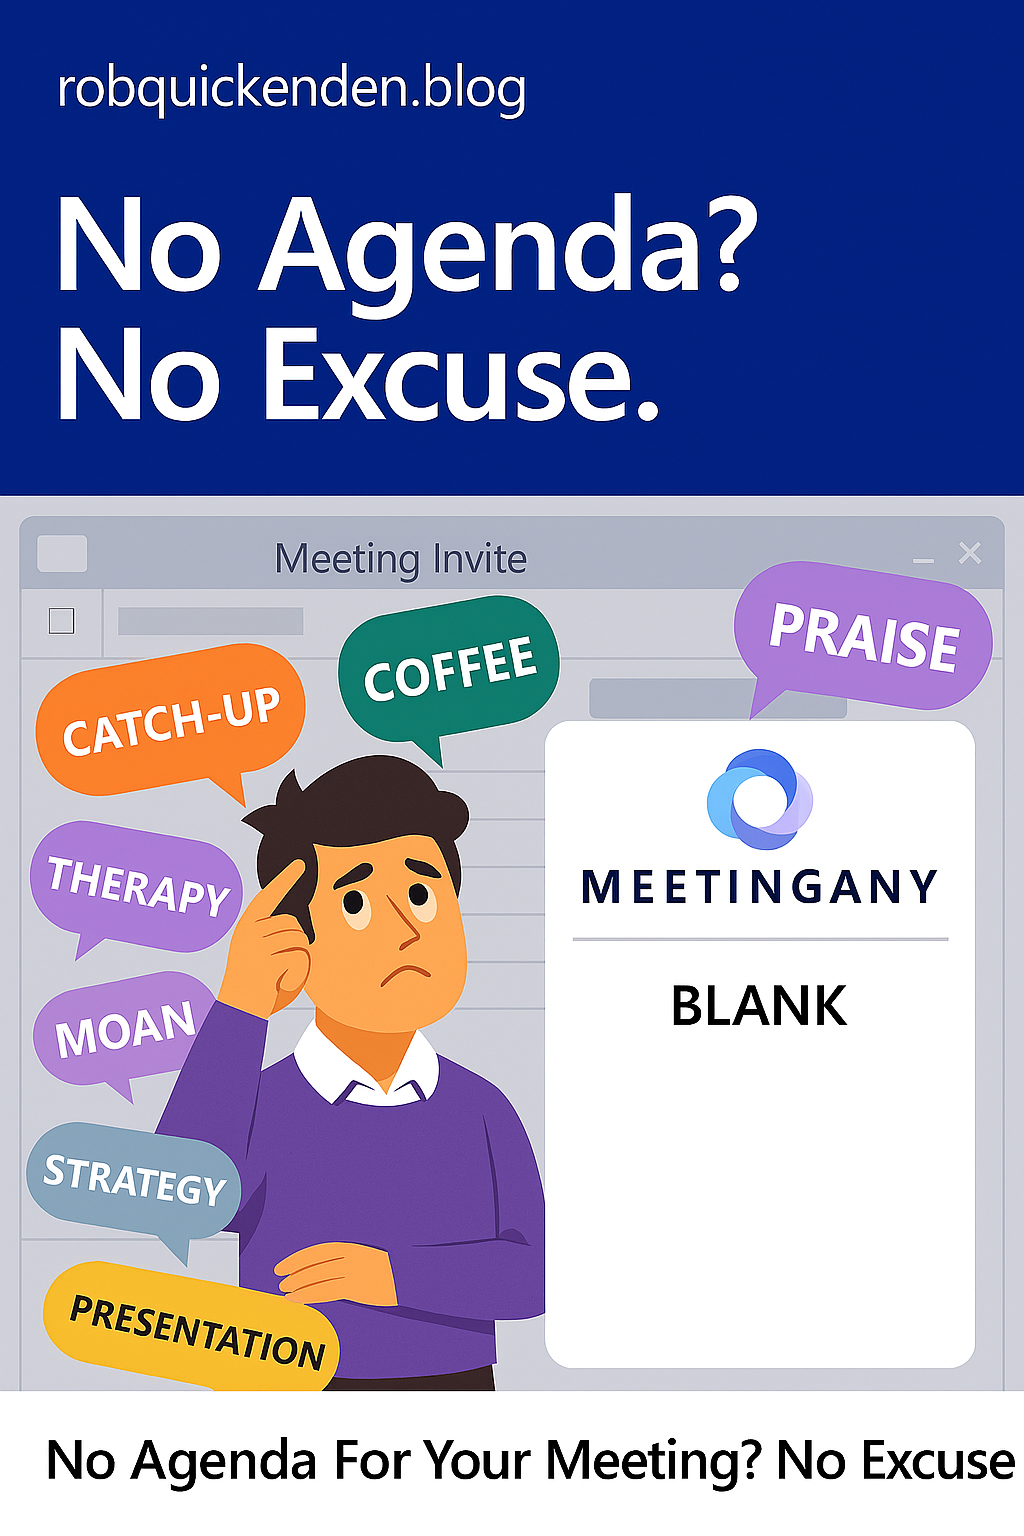
No Agenda? No Excuse. Copilot can now help with agenda creation.
Read more: No Agenda? No Excuse. Copilot can now help with agenda creation.Let’s talk about one of my biggest pet peeves: the agenda-less meeting invite. You know the type. A calendar ping lands in your inbox with a vague title like “Catch-up”…
-

Rolling out in Outlook: “Follow a meeting” and keep up to date.
Read more: Rolling out in Outlook: “Follow a meeting” and keep up to date.Update: Follow is a new meeting response (RSVP) option that is now rolling out in Teams and Outlook (new and on the web) that goes beyond the traditional Accept, Tentative…
-
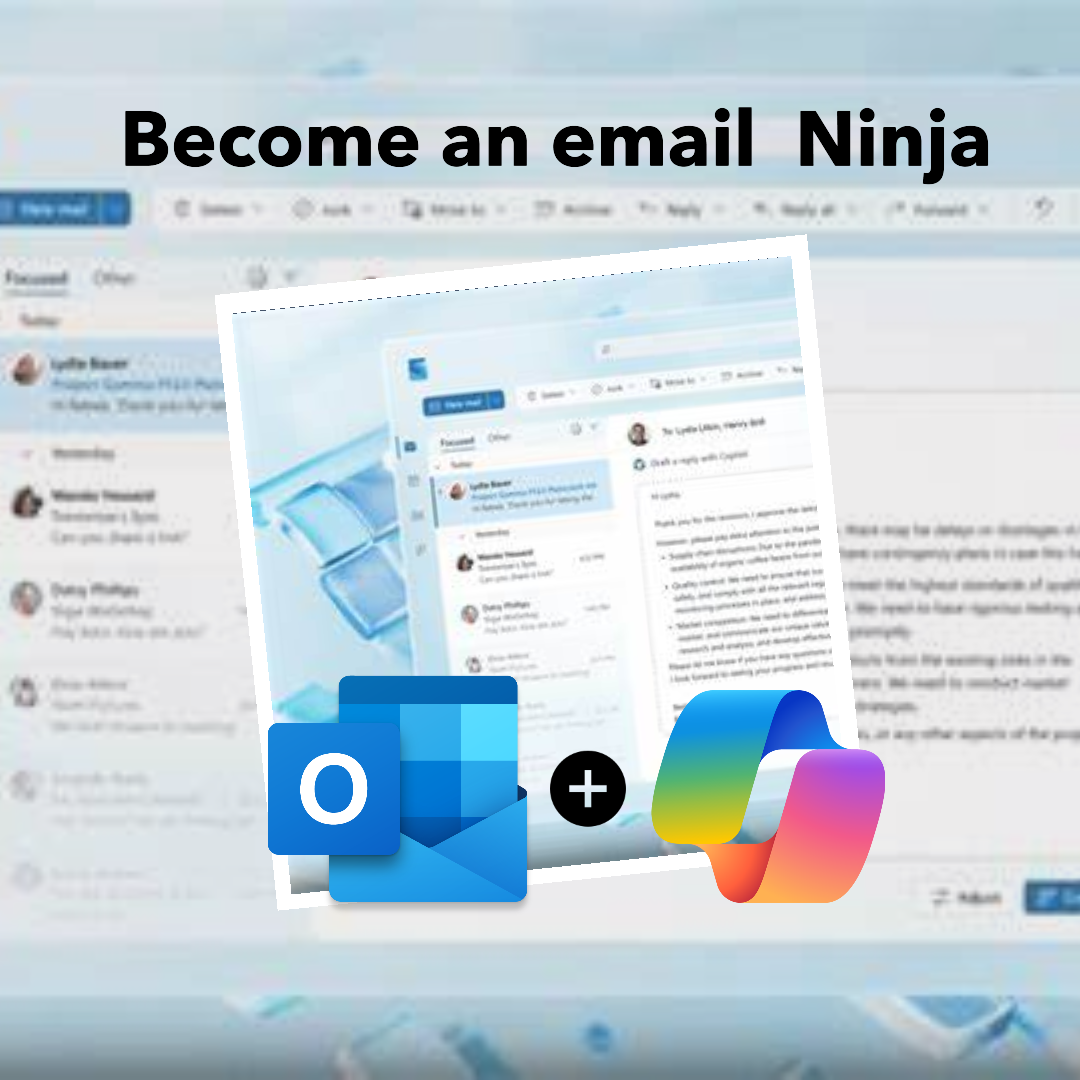
Be an email Ninga with Copilot in Outlook
Read more: Be an email Ninga with Copilot in OutlookCopilot in Microsoft 365 is an AI-powered assistant designed to provide information, answer questions, and engage in conversation. It uses Open AI’s ChatGPT 4 technology plus your apps and data…
-

Be a meeting Ninja with Scheduling Polls in Outlook.
Read more: Be a meeting Ninja with Scheduling Polls in Outlook.Microsoft has replaced the legacy FindTime plug in for Outlook with a new native experience called “Scheduling Polls” which is now built directly into Outlook on desktop and the web…
-

Set and change work hours and location from Outlook
Read more: Set and change work hours and location from OutlookComing in the next few weeks, Office 365 will let employees set working hours and locations. #Microsoft365 #Hybridwork #PartTime
-
Microsoft’s One Outlook is now available to preview for Office Insiders
Read more: Microsoft’s One Outlook is now available to preview for Office InsidersThe new (beta version) of the One Outlook experience is available to paying Microsoft 365 or Office 365 Business and Education customers enrolled on the Office Insiders Beta Channel. One…
-
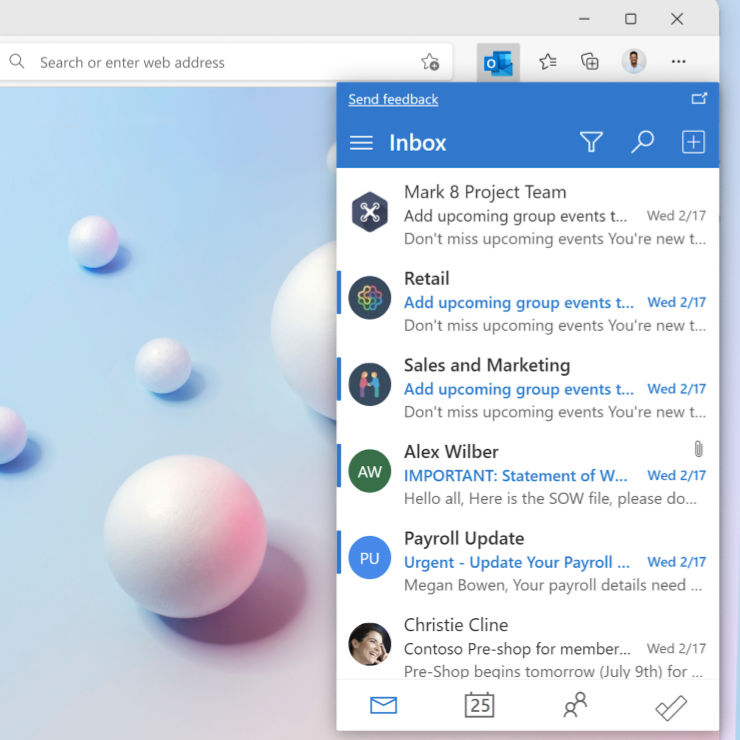
New Edge browser extension for Outlook aims to keep you informed while browsing.
Read more: New Edge browser extension for Outlook aims to keep you informed while browsing.The Outlook extension is in beta (due to be released in July) but is available to download now from the Microsoft Edge add-ons store. What does it do? The Outlook…
-

Coming Soon:Outlook will be able to book you travel time between your ‘physical’ meetings
Read more: Coming Soon:Outlook will be able to book you travel time between your ‘physical’ meetingsAs we start to thing about post covid working it’s likely that more us will go back to have at least some physical meetings with our clients and customers and…