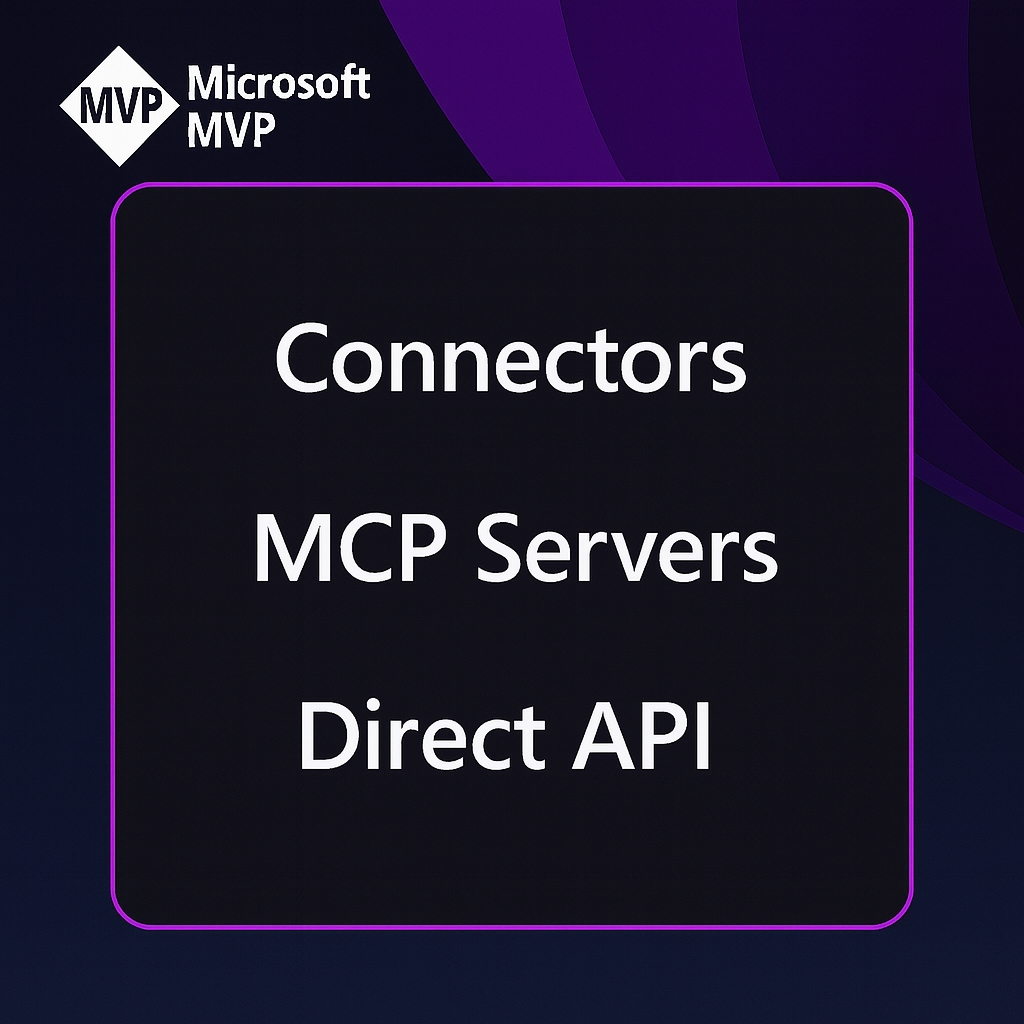
What are Copilot connectors?

A Copilot connector is the plumbing that brings your organisationโ€™s external content into Microsoft 365 so Copilot can ground answers in real, company-specific data.

Practically speaking, a connector extracts or fetches items from a thirdโ€‘party system (files, tickets, PRs, CRM records, etc.), indexes those items into the Microsoft Graph, and makes them available to Copilot and Microsoft Search under your tenantโ€™s security and governance rules.

How it works in plain terms

A connector usually has three moving parts: the source adapter (code that knows how to read the external system), an agent or orchestration layer that schedules crawls and handles incremental updates, and the ingestion into Microsoft Graph where items are stored and securityโ€‘trimmed. Microsoft provides a Connectors SDK and a lightweight connector agent so you can build custom connectors or run Microsoftโ€™s prebuilt ones; the agent handles full and incremental crawls, delete detection, ACL stamping, and ingestion into Graph.

Real connector examples

Copilot connectors already cover a wide range of enterprise systems. Here are practical examples youโ€™ll see in the wild and the kinds of prompts they unlock:

  • Salesforce – pull opportunity summaries and recent activity to prep for a customer call.  
  • Jira / Azure DevOps – surface sprint status, open bugs, or backlog items when you ask for release readiness.  
  • GitHub / GitLab / Bitbucket – summarise open pull requests, list failing CI runs, or extract changelog notes.  
  • Box / Dropbox / Google Drive / SharePoint – compare versions of a spec or summarise the latest product doc.  
  • ServiceNow / Zendesk / Freshservice – analyse incident trends and recommend process changes.

Each connector turns source content into indexed, searchable items so a prompt like โ€œSummarise the top five customer issues from Zendesk this month and suggest fixesโ€ returns grounded, citeable results instead of generic advice.

Connector versus MCP server versus calling an API

Copilot connector (indexed or federated). 
A connectorโ€™s job is to make content available to Microsoft Graph and Copilot.

Many connectors perform a crawl and index model (content is ingested into the Microsoft  Graph), while newer federated or userโ€‘level connectors let Copilot fetch live data on demand using the userโ€™s credentials. The indexed model is great for broad search and fast responses; federated connectors are useful when you need realโ€‘time, userโ€‘scoped access.

MCP server (Model Context Protocol). 

MCP is a protocol and server model that standardizes how AI assistants call external tools and fetch context in real time. An MCP server exposes a set of tools/endpoints that agents (like Copilot or Teams Channel Agent) can discover and invoke; itโ€™s about runtime tooling and live interactions, not indexing. Think of an MCP server as a live automation or tool host โ€” for example, a calendar MCP server that creates events or a custom MCP server that exposes internal business actions to an agent. MCP servers are registered so Microsoft 365 agents can discover and securely call them.

Direct API Calls

Calling a serviceโ€™s API is the most basic integration pattern: your app authenticates and requests data or performs actions directly. Thatโ€™s perfect for bespoke workflows or when you need full control over data flow, but it doesnโ€™t automatically make that data searchable inside Microsoft Graph or available to Copilot across the tenant. If you want Copilot to use that data as part of its knowledge, you either build a connector that indexes it into Graph or expose it via an MCP/federated connector for live access.

How they differ…

  • If you index Jira with a connector, Copilot can quickly answer questions such as โ€œWhatโ€™s blocking Product release X?โ€ using indexed issues.  
  • If you run an MCP server that exposes a ticketโ€‘triage tool, Copilot (or an agent) can interface and directly open a triage workflow and assign owners in real time without needing to open the app.
  • If you call the Jira API from a custom app, you can build any workflow you want – but Copilot wonโ€™t automatically see that data unless you also surface it via a connector or MCP endpoint.

Security, governance, admin controls

Connectors are designed to respect tenant boundaries and Microsoft 365 governance. Indexed content is ingested under your tenant, encrypted, and securityโ€‘trimmed so users only see what theyโ€™re allowed to see. Admins manage connectors from the Microsoft 365 admin center, control which connectors are available, and can stage rollouts or disable federated connectors if they donโ€™t meet policy. The connector agent and SDK also let you enforce crawl schedules, incremental updates, and ACL mapping so indexing behaves predictably at scale.

Connector, MCP server, or API?

When you need Copilot (or an agent) to work with an external service, you usually have three realistic integration patterns to choose from: indexing via a Copilot/Graph connector, exposing live tools through an MCP server, or calling the serviceโ€™s API directly from your app. Each option solves different problems.

Below I will try to explain the tradeoffs in plain language, give concrete examples, and finish with a short decision checklist you can use immediately. NB: I’m still learning this myself so bear with me!

  • Use a Copilot connector when your goal is to make a lot of content searchable and citeable across the tenant so Copilot and Microsoft Search can answer questions quickly (think documents, tickets, PRs).
  • Use an MCP server when you need runtime tooling – live, discoverable actions an agent can call (for example: triage a ticket, kick off a workflow, or run a business action) rather than just read data. 
  • Call the API directly if  you are or need to build a bespoke app or workflow that needs full control, custom logic, or realโ€‘time twoโ€‘way operations and you do not need Copilot to automatically see that data unless you also surface it via a connector or MCP. 

These are not mutually exclusive, and sometimes you might need a combination of both. For example you may index the data for search and also expose a small set of live actions via MCP or direct API calls.

Deciding which you need

I found this check list helpful which some of my developer friends use…

  1. What do you need Copilot to do? If itโ€™s answer/search/summarise โ†’ connector. If itโ€™s act/execute/triage โ†’ MCP or API. 
  2. Do you need tenantโ€‘wide, securityโ€‘trimmed search? If yes, prioritise a connector. 
  3. Do you need live userโ€‘scoped actions or interactive workflows? If yes, design an MCP server or expose specific API endpoints as MCP tools. 
  4. How fast do you need it? Realโ€‘time โ†’ MCP/API. Fast search across many items โ†’ connector.ย 
  5. Whatโ€™s your governance posture? If you need Microsoft 365 controls and auditing, connectors and Power Platform connectors give builtโ€‘in alignment; MCP requires explicit registration and security design.

The other tip from my limited experience so far (I did say bear with me) is

  1. Use prebuilt connectors first – there are loads. Check the Microsoft Copilot connectors gallery for existing connectors before building custom ones.  
  2. If you need to build (or get someone to build) a custom connextor, use the Connectors SDK and agent to build and test your connector; the agent handles crawling and ingestion. 
  3. Pilot / test with real prompts and measure relevance, latency, and trust (are results correctly securityโ€‘trimmed and useful?).

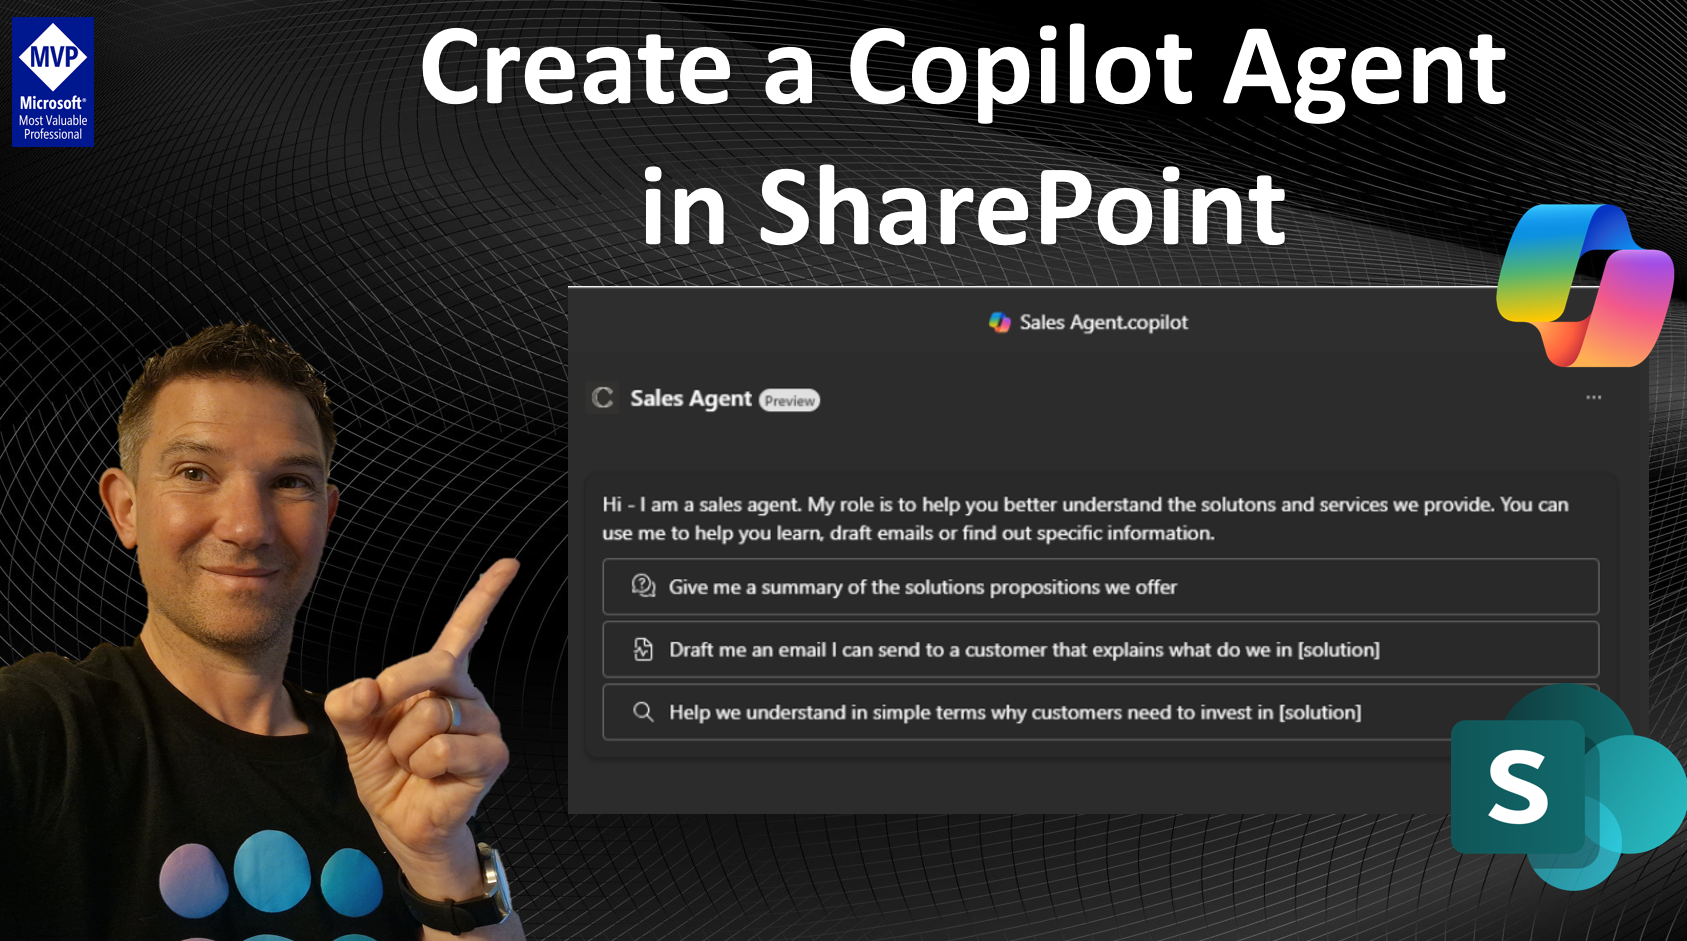
Creating a Copilot Agent from a SharePoint Library

The new Agent Builder in SharePoint is designed to help people use and share Copilot Agents to query sibsets of data within your organistion using a simple click, point, create and tweak approach. Out of the box every SharePoint site (assuming you have a Copilot license) brings a Copilot sidebar allowing you to ask questions about the content, but you can also replace this with a custom Copilot Agent which we will walk through here.

The goal is to enable business users to easily empower their employees use Copilot to reason over specific information sources or across discrete repositories. Microsoft provide a handful of “use cases” as why a Copilot agent might be useful and what’s great is that “anyone” can create one!

Image – Microsoft Copilot Adoption Hub

Once created and tested, these custom Copilot Agents can be easily shared via a simple hyperlink that can be embedded in SharePoint pages or used in Teams.

In this how to blog, I walk you through the setup and customisation of a Copilot Agent using Agent Builder in SharePoint, customising of the agent, and sharing of the agent. Free to follow along and create your own agent.

Copilot agents are specialised AI assistants designed to enhance the capabilities of Microsoft 365 Copilot by connecting to your organisationโ€™s knowledge and data sources. They are custom tools embedded in Copilot Extensions, providing additional functionalities tailored to specific needs. In SharePoint, Copilot agents are natural language AI assistants that give trusted, precise answers and insights. Agents are expert systems that operate autonomously on behalf of a process or company.

Building your First Copilot Agent

Step 1 – Choose your starting point.

First, you need to navigate to a SharePoint site, library or document library you want to create an “agent” from. You will of couse need to have access to that Library and also need a Microsoft 365 Copilot license to create the agent.

From here, you can select the three dots and choose “Create a Copilot agent

Step 2 – Click and you are done!

Done (well – you will probably want to customise it and test it), but once you do this, your Copilot Agent is created for you. Click “Edit” to make changes, such as change the name, and then of course test it out.

Step 3 – Edit and Customise

Here I have clicked “Edit” to take me to the customisation pages. From here you can toggle across different options to customise your Copilot agent.

The customisation pages are split into three sections – Idenitity, Sources and Bebaviour – each of these allow you to tweak the way the agent works. There’s also the ability to edit for advanced customisation through Copilot Studio but this feature is not available at time of writing…

In the Identity Section – you can change the name, icon and description (who the agent introduces itself to the user)

In the Sources Section – you can modify the sources that the Copilot Agent uses. You can add additonal SharePoint sites, individual files or extenal sources such as websites.

In most cases, I suspect you will want to use a single library or a discrete set of files, but you can add up to 20 different information sources. These 20 information sources can be mean sites, libraries, folders, or documents. What’s more, you can have a combination of these as long as the total is 20 sources – for example, you could add 20 sites or 20 documents, or 3 sites, 5 document libraries, 2 libraries and 10 descrete files as long the total sources totals 20.

Note: You of course need to ensure that the intended users of the agent have access to the sources your specify as agents run under the security context of the user using the agent.

In the Behaviour Section, you can customise the welcome message which will help your users to understand the purpose of this Copilot agent and can also edit or change the starter prompts to help users get some tips on some of the things the agent can do for them. You can also give the agent specific instructions on how it should respond and behave based on the user input.

As you update the behviour, you will see the changes in real-time.

Testing your Copilot Agent

Once you are ready, you can test your agent, simply writing a prompt in the chat dialog as you would with any other Copilot – feel free to try one of the templates or create your own.

Be sure to test a few things, you might find you need to update the user instructions and review the sources before you share it with other people to test further.

Once you are happy with your agent, click save. The agent is saved a “file” with a .copilot extension in the root of the SharePoint folder you started creating your agent in.

Using your Copilot agent

Once saved, your new Copilot Agent launches automatically for any user accessing the SharePoint library that has a Microsoft 365 Copilot license. This replaces the default copilot interface that opens when you visit a SharePoint library.

Sharing your Copilot agent

Since the Agent is encapsulated as a manifest “.copilot” file, you can simply share the file like you would any other file, or click the three dots and select share.

Once shared, they click on the file and open it and it displays like a standalone app or can of course access it from the SharePoint library directly.

[Current] Limitations

  1. Currently Custom agents do not appear on the main Copilot Business Chat pages, though this is coming I beleive. On the FAQ on Microsoft’s support page it clearly states that โ€œYou can access a Copilot agent from a SharePoint site, page, or document library. You can also use it in Teams if added. We plan to make it available across Microsoft 365, including Microsoft Copilot.โ€ https://support.microsoft.com/en-us/office/get-started-with-copilot-agents-in-sharepoint-69e2faf9-2c1e-4baa-8305-23e625021bcf.
  2. Advanced editing with Copilot Studio is not currently available, but is also coming soon.
  3. It’s not possible to “hide” the .copilot file (that I can see anyway), so make sure to change permissions on the file.

Let me know how you get on….