All Blog Posts
Select a Category or use the search box below.
- Adoption and Change Management (40)
- Agents (8)
- Anthropic (7)
- Anthropic (11)
- Apple (1)
- Asus (1)
- Automation (11)
- AWS (1)
- Business (134)
- Cisco (34)
- Cisco Webex (2)
- Cloud and Data Center (55)
- CloudPC (9)
- Collaboration and Productivity (300)
- Copilot (115)
- Copilot+ PC (18)
- Cowork (4)
- Creativity (13)
- Customer Experience (19)
- Data and AI (105)
- Data Protection (6)
- Dell (1)
- Devices (33)
- Education (5)
- End User Compute (84)
- Enterprise Infrastructure (20)
- Finance (1)
- Geeky Stuff (16)
- Google (1)
- Google (4)
- HPE (1)
- Intel (2)
- Juniper (1)
- Low Code (2)
- Microsoft (213)
- Microsoft Surface (19)
- Microsoft Teams (7)
- Nvidia (2)
- Observability (2)
- OpenAI (13)
- OpenAI (12)
- Palo Alto (1)
- Qualcomm (4)
- Quantum Computing (1)
- Regulatory Compliance (3)
- Scout (1)
- Security and Compliance (95)
- SharePoint (1)
- Spunk (4)
- Uncategorised (2)
- Vendor (2)
- Windows 10 (49)
- Windows 11 (99)
- WindowsInsider (24)
-
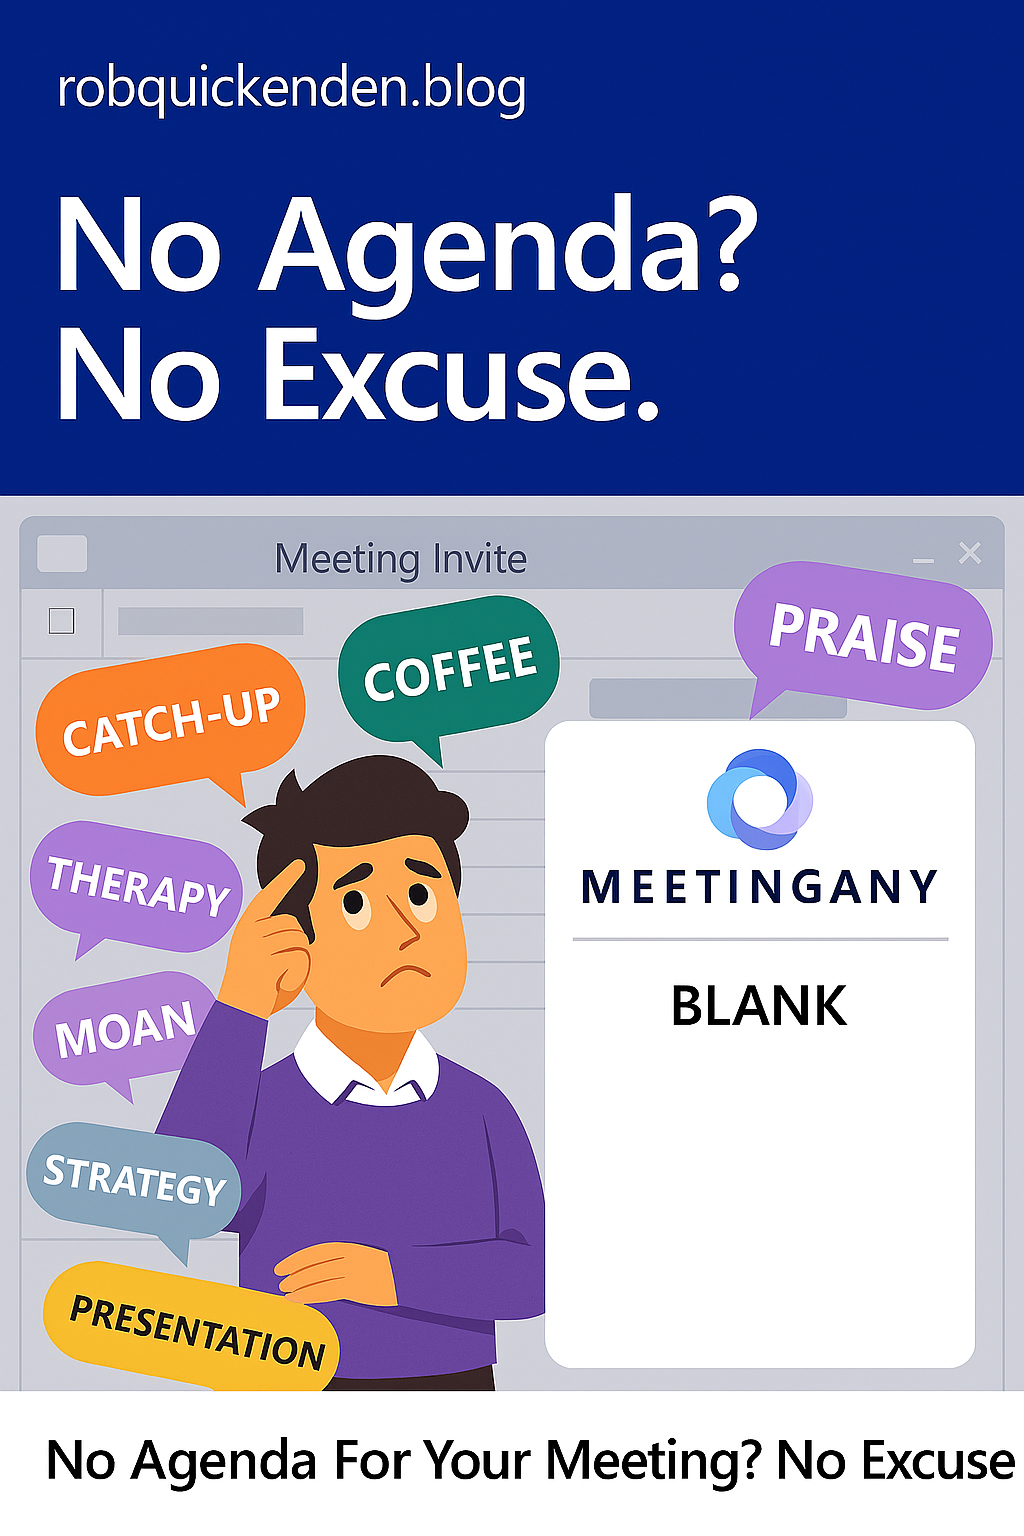
No Agenda? No Excuse. Copilot can now help with agenda creation.
Read more: No Agenda? No Excuse. Copilot can now help with agenda creation.Let’s talk about one of my biggest pet peeves: the agenda-less meeting invite. You know the type. A calendar ping lands in your inbox with a vague title like “Catch-up”…
-
Copilot can now Schedule meetings for you from email threads.
Read more: Copilot can now Schedule meetings for you from email threads.Copilot and Microsoft 365 continues to evolve and add features. The latest feature introduces a seamless method to transform email threads into productive meeting agendas with a single click. This…
-
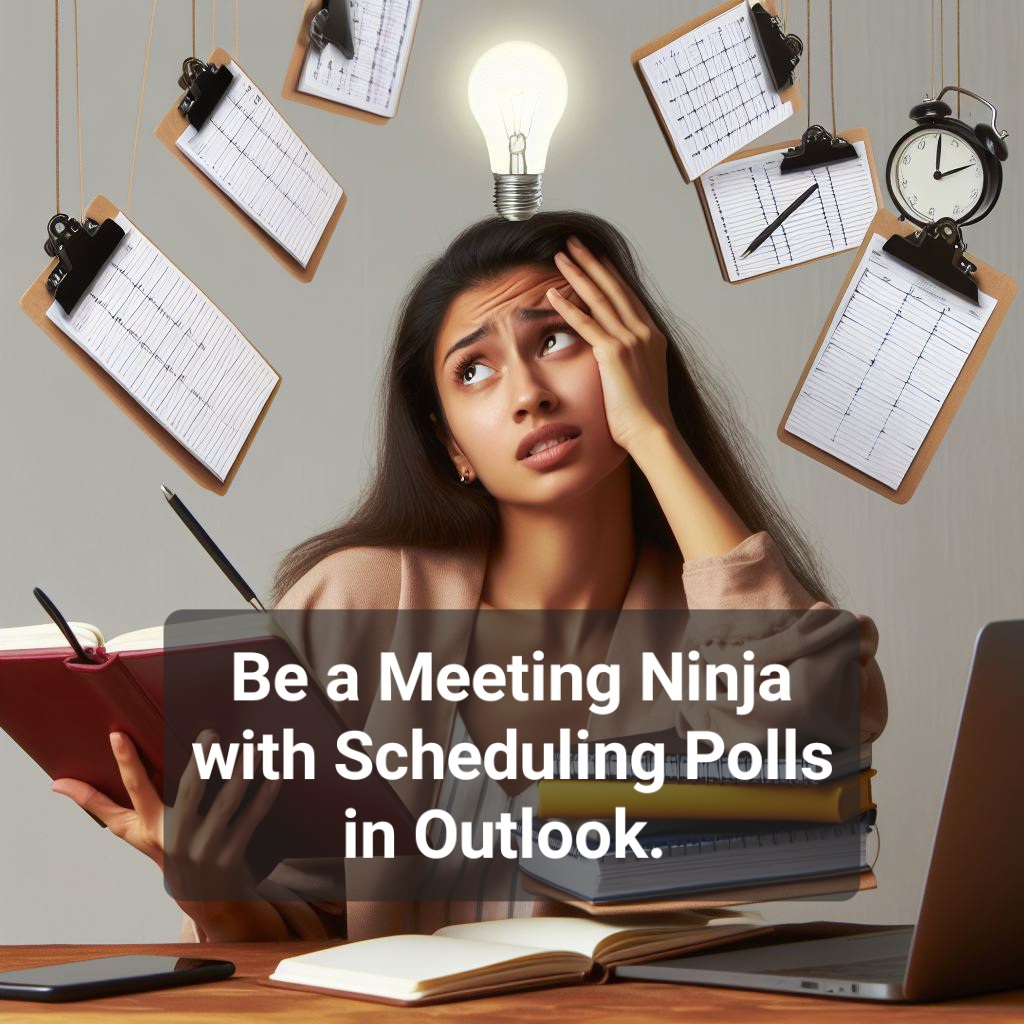
Be a meeting Ninja with Scheduling Polls in Outlook.
Read more: Be a meeting Ninja with Scheduling Polls in Outlook.Microsoft has replaced the legacy FindTime plug in for Outlook with a new native experience called “Scheduling Polls” which is now built directly into Outlook on desktop and the web…
-
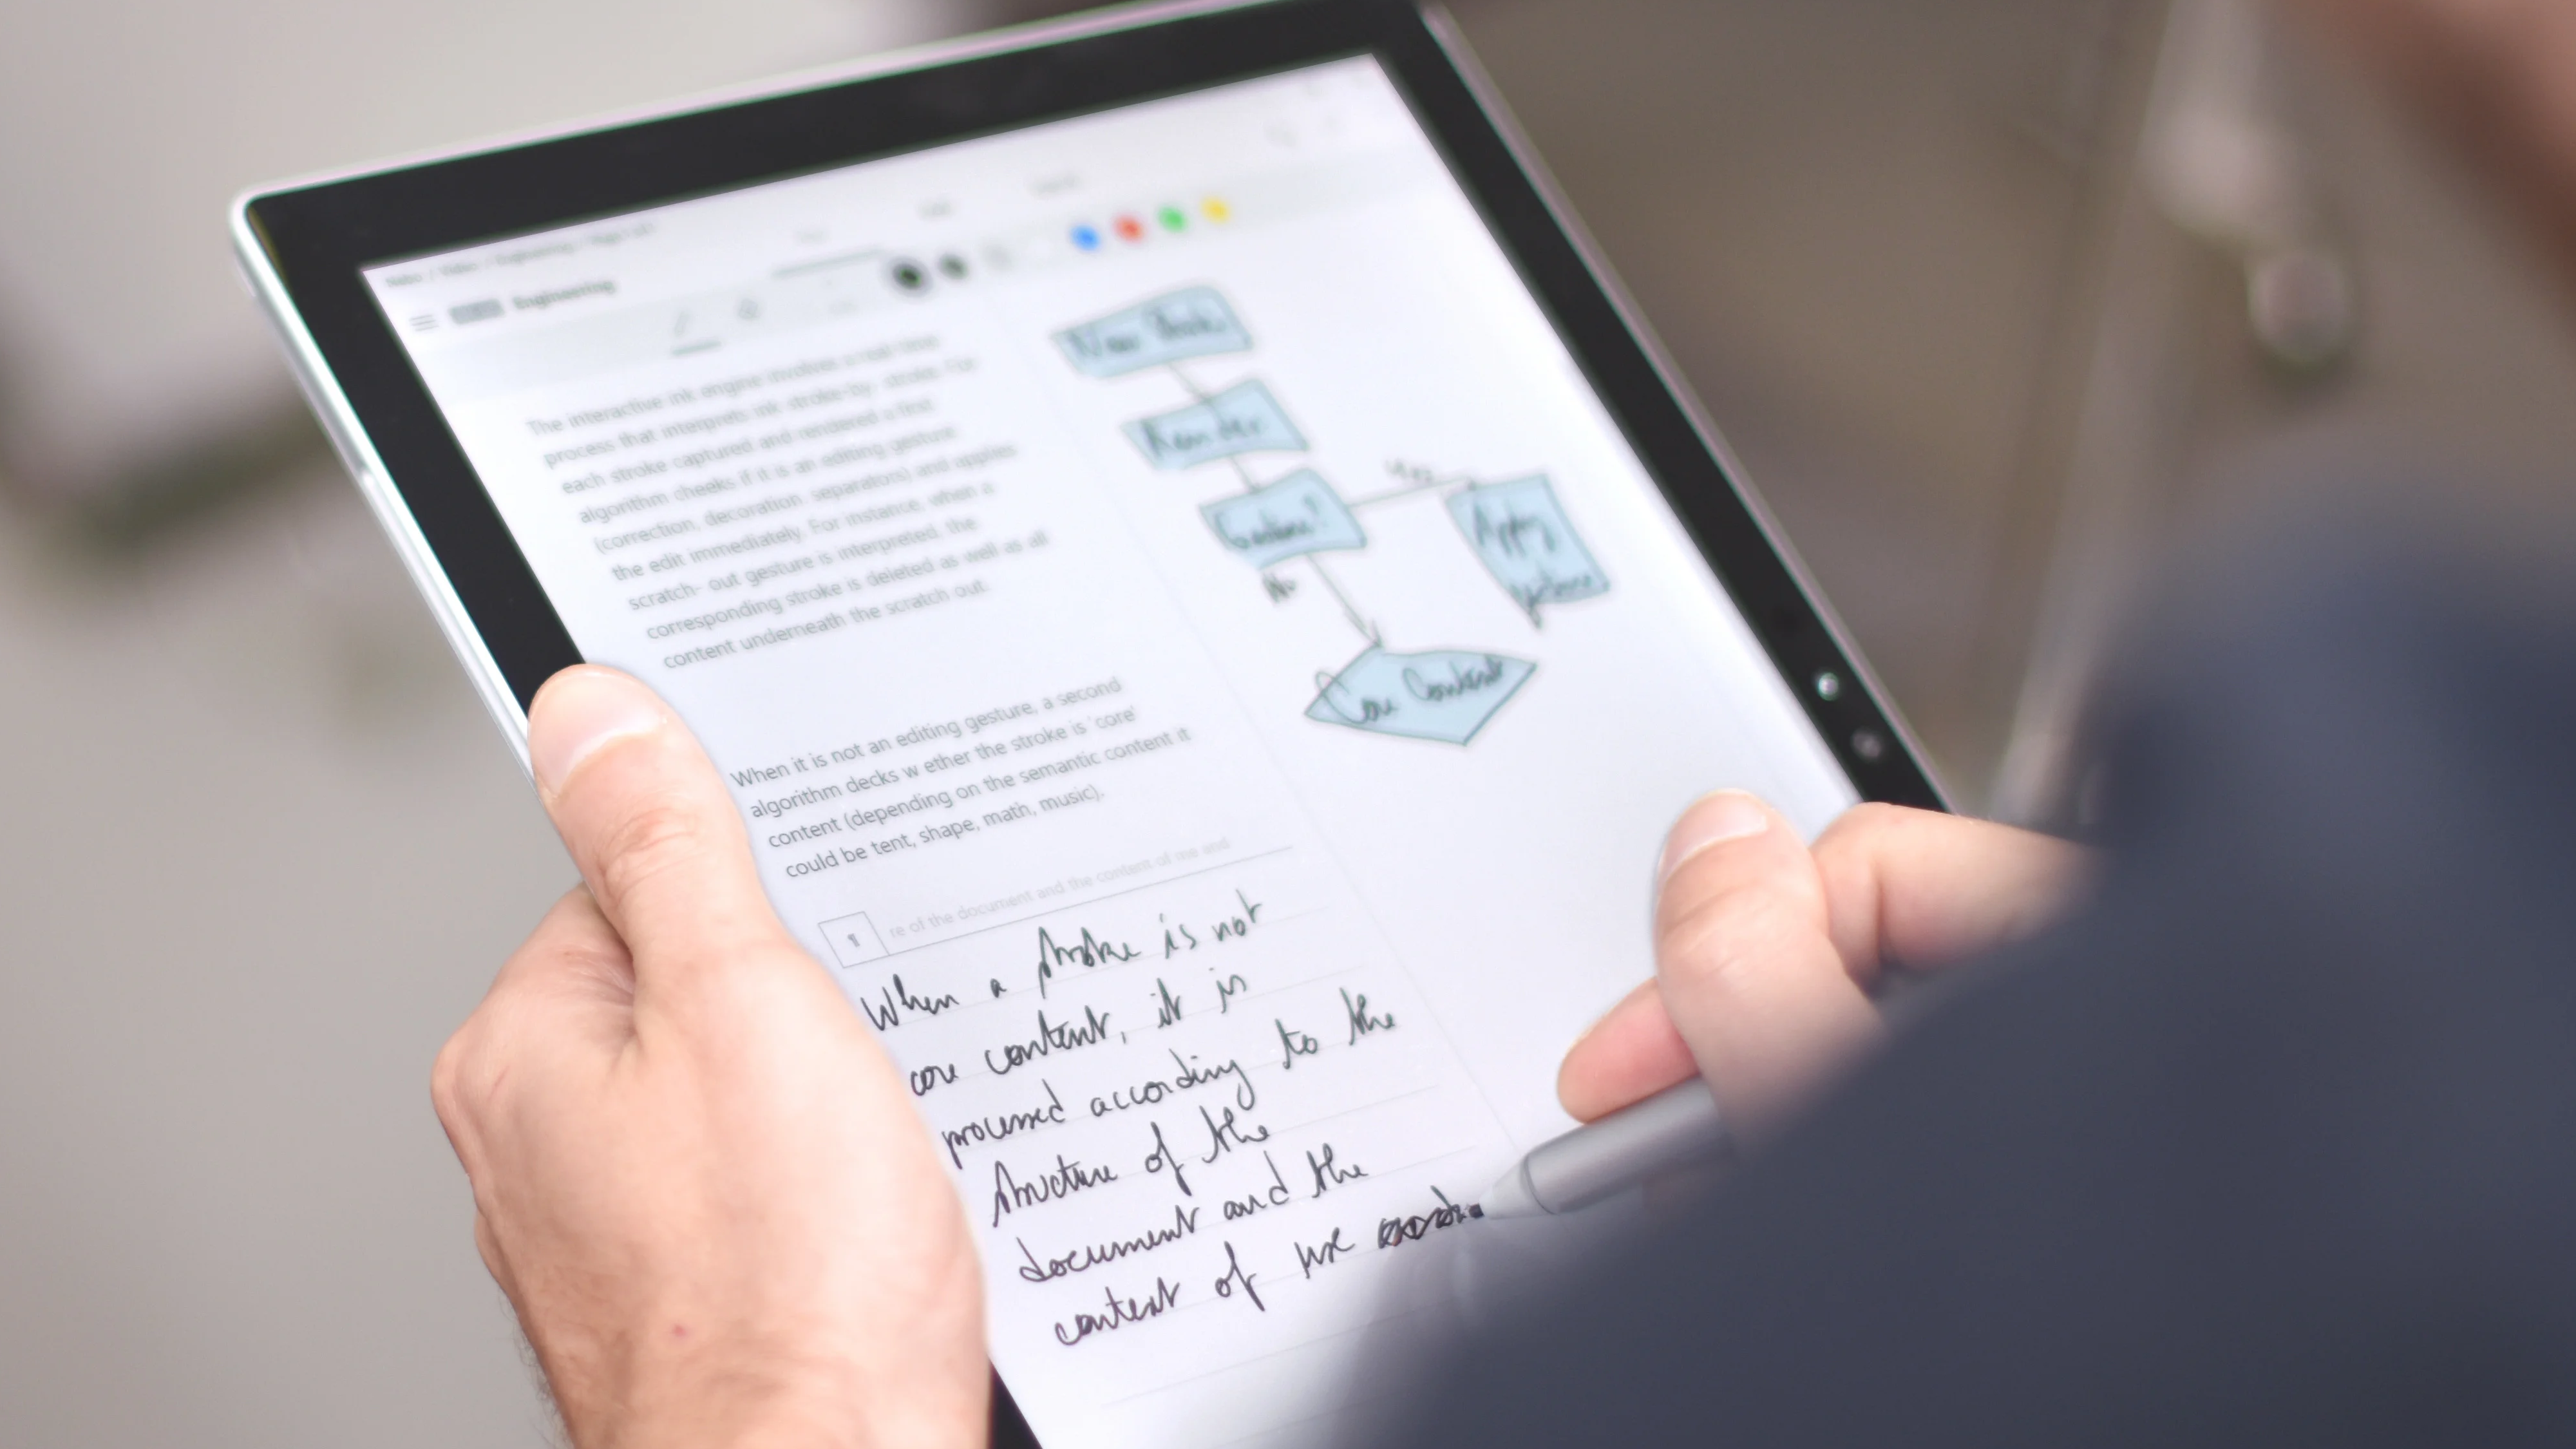
You’re missing a trick not using Surface and Pen in meetings
Read more: You’re missing a trick not using Surface and Pen in meetingsWhy trading in traditional paper notebooks or clamshell laptops for Surface Pro and pen is a must in business. Benefits include improved focus and retention, a natural writing experience, real-time…
-
Microsoft launches Teams Town Hall – Replaces Live Events
Read more: Microsoft launches Teams Town Hall – Replaces Live EventsMicrosoft is replacing Microsoft Teams Live Events with a new “Town Hall” in the experience. Users with Team Premium licenses will also gain exclusive access to new “advanced features”. What…
-
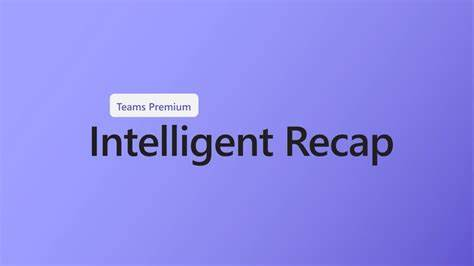
How to use Intelligent Meeting recap in Teams
Read more: How to use Intelligent Meeting recap in TeamsIntelligent Recap in Teams is here. This leverages AI to automatically take meeting notes for you and summarise actions – check it out below.